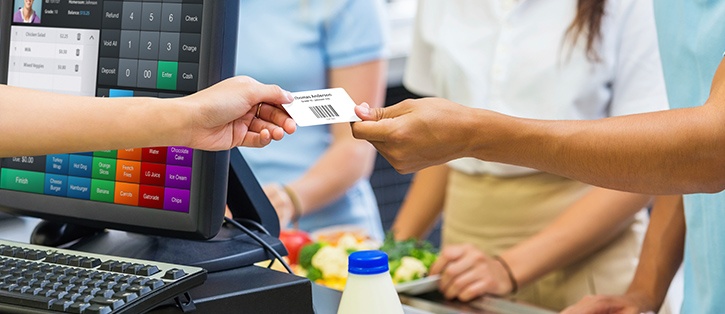
Your point of sale is the center of your nutrition operation during serving periods. With an average lunch period lasting only 25 minutes, students want to get through the line quickly so they have time to eat and chat with friends.
While there are many adjustments you can make to speed up your serving lines, optimizing your menu boards can also help shave a few precious seconds off the time it takes to enter a transaction.
Here are 8 tips for building menu boards that help make your cashier's job easier and your lines move faster:
1) Create standard menu boards by grade or school site
If you serve certain items that are specific to a grade or school site, it can be extremely helpful to tailor your menu boards to them. This will make it easier for your cashiers to find the menu items commonly purchased at the school where they serve.
2) Consider using images, symbols, or logos on buttons
Research has shown that our ability to remember images largely exceeds our ability to remember words. While it may seem silly to take the time to add a picture of an apple on a button that says 'Apple', using images can be very helpful for quick eye-scanning. The addition of a visual cue can help cashiers remember locations of buttons quicker. Images and symbols are also useful for cafeterias that have multilingual staff.
3) Color code your tender buttons
Rather than having all tender buttons a single color, consider selecting specific colors for each type of tender option. For example, green means check or red means cash.
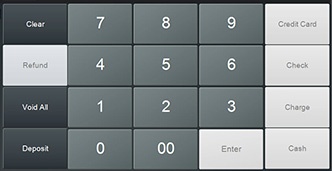
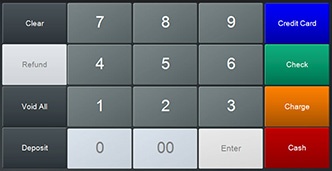
In the screenshots above, it's easy to see how different colors add a visual reminder for each tender type. Your cashier will quickly be able to associate the color of the button with the payment type.
4) Create separate menu boards for à la carte items
Create a separate board for all of your à la carte items so cashiers can find them faster. Having a separate menu board will also make it easier to update if your items offered ever change. Rather than having to search through multiple menu boards, you'll just have to reference a single menu board for all your à la carte changes.
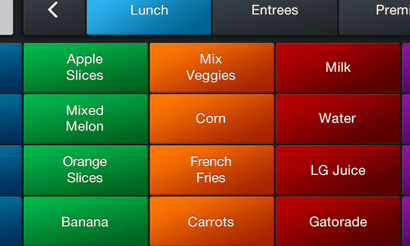
5) Color-code similar items by category
Consider color-coding buttons to group similar items. For example, use the color blue for all drink options or red for hot entrees. The color differentiates each category so your cashiers can quickly navigate to the appropriate button.
6) Choose menu boards with the appropriate amount of buttons
Many Point of Sale systems will allow you to choose how many buttons you want to have for your menu board. Choosing the right amount of buttons is an easy fix that can be very useful. If you're using images and text on your buttons, you might consider having a menu board with less buttons so the buttons can be bigger. If there are too many buttons, they may be too small for your cashiers to read.
7) Review your menu boards periodically
What might work now for your menu boards may be different from year to year. As a best practice, remember to review your menu boards on a routine basis to check for needed changes or updates. New menu items may need to be added, old items removed, or names may need to be changed.
8) Keep staff trained
As your menu boards change, it's also important to keep your staff up-to-date with any and all updates. If you decided to group your à la carte items on their own menu board, you'll want to let your cashiers know.
In the serving line, saving a few seconds on each transaction can make a real difference. What are some best practices your school follows when creating menu boards? Share your tips and tricks in the comments below: